When I started my home studio, I was overwhelmed by all the audio gear you need. There are so many functions and features that come with them all, especially an audio interface.
I even thought that my audio interface was not working, since there are quite a few things that can make it seem like it is not working. So, I decided to write this article to cover the steps you need to figure out if your audio interface is broken or not.
If you check your inputs and outputs on your audio interface (this includes connection points and cables), your gain controls, volume knobs, different switches, the power adapter, and USB connections, as well as the routing through your DAW on your PC or laptop, and your audio interface is not working, then it is safe to assume that some components and or materials that make up the audio interface are damaged.
In this article, I will give a brief overview of what an audio interface is. Then I will cover what features and functions an audio interface has.
Knowing these features and functions will allow you (through trial and error) to figure out what is wrong with your audio interface. Lastly, I will cover the top 5 audio interfaces for under $100, so if you need to purchase an audio interface because yours is broken, you don’t have to worry.
Let’s get started.

Keep track of all your music and notes in one convenient place!
Over 1000 sold to songwriters everywhere – with a 5-star rating.
What Is An Audio Interface?
An audio interface is a device that is used to record instruments and microphones. This device converts the analog electrical signal from your instruments or microphone into a digital signal that your PC or laptop can use. By this, we mean that if you are running a DAW, you can manipulate, record, and edit those signals to produce any sound you want (usually music).
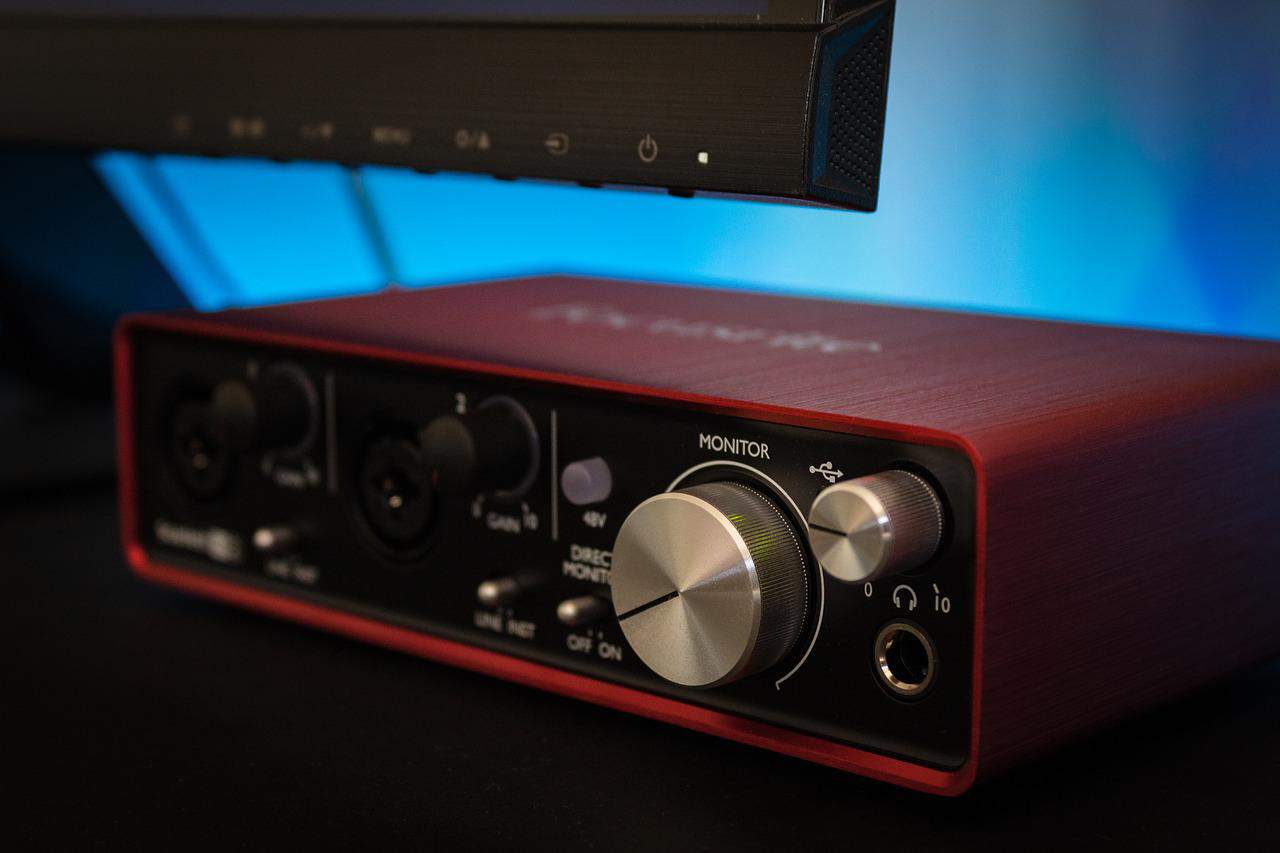
You can use audio interfaces for various things besides just recording instruments, including using them for podcasting and voiceovers.
An audio interface is at the heart of your home recording studio. You get many different variations of them, and they come with many features and functions. Depending on your situation and your needs, you will need to look at many different audio interfaces to determine which one is best for your situation and needs.
What Features & Functions Can An Audio Interface Have?
Microphone Inputs
All audio interfaces will come with inputs. By the definition of the device, they have inputs because you need to record or put through an audio signal into your electronic device.
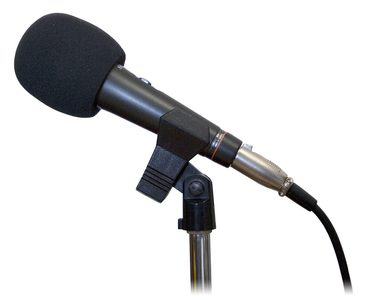
The microphone input is always an XLR input. Some audio interfaces may have more than one XLR input (up to 8 on certain devices), and we use the XLR input to record and transfer a microphone signal.
Instrument Inputs
Usually, these inputs will be in the form of 1/4inch jack input. You will use these inputs to plug in and record your instruments, such as guitar, bass, and keyboard. One thing to note is that these inputs are unbalanced and should only be used for instruments.
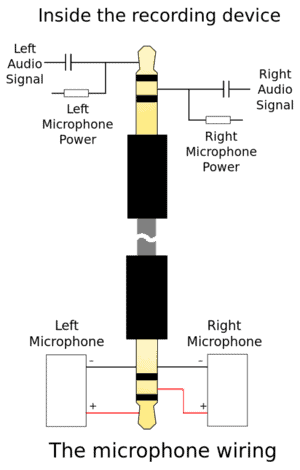
You do get some audio interfaces with dual combination input of XLR and jack, and then these inputs can be used for either microphone XLR inputs or instrument jack inputs.
Line/Mic Switch
If your audio interface sports a dual combination XLR and jack input, you will most likely have a line/mic switch. This switch is to set whether you are using either the mic or line (instrument) input. Be sure to select the correct switch when you are using a certain type of input.
Gain Controls
All audio interfaces will have gain controls for your inputs. With these controls, you can adjust the input volume of either your microphone or instrument.
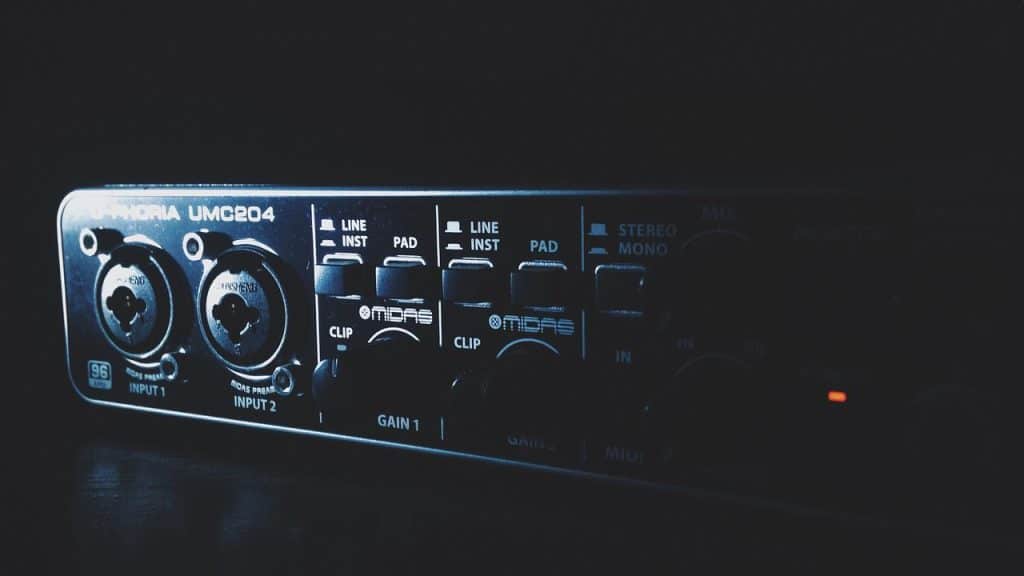
This is great because microphones and instruments have a low input signal because of their design and how they are used for recording. Hence, you can adjust the input signal from your inputs to get them up to a line-level input volume, making recording, editing, mixing, and producing much easier.
High-z Switch
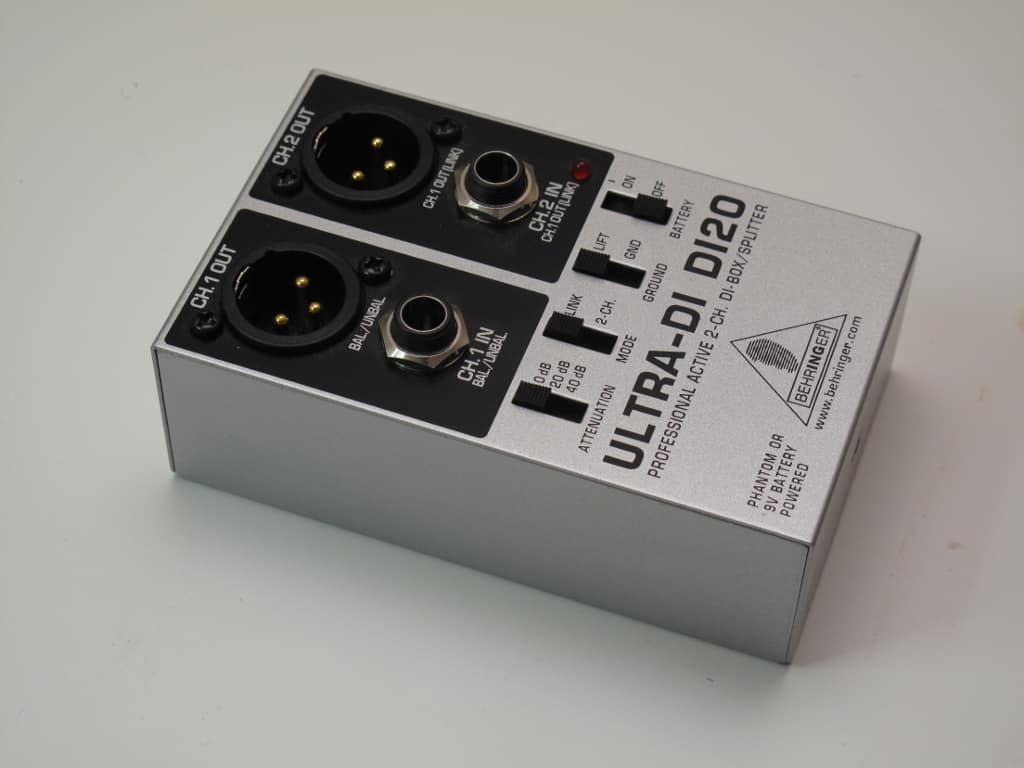
Some audio interfaces sport a high-z switch for your jack instrument inputs. As we said, jack inputs are unbalanced, and the high-z switch helps you push your instrument signal through a DI configuration, which will help balance the signal out.
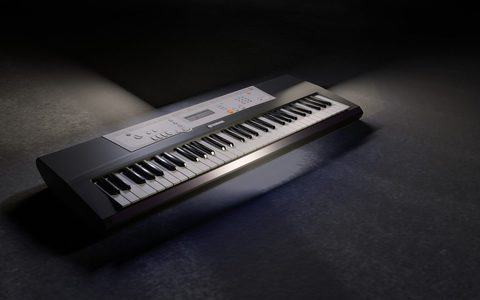
This will help to reduce noise and interference when recording your instruments.
Preamplifiers
All audio interfaces will come with a built-in preamplifier (you can learn more here). this is so your audio interface can boost a low-level microphone signal to line-level, which will make your job of manipulating, recording, editing, and mixing your sound much easier.
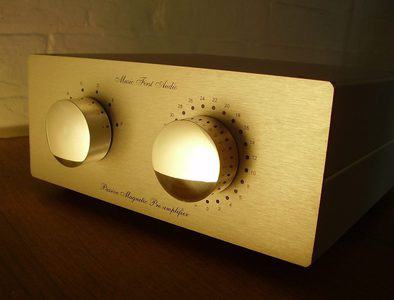
Read my article here, where I go over preamplifiers in detail.
You will be able to tell that your audio interface has a preamplifier built into it because of the gain controls that you will have for each input on your interface. If an audio interface never had a preamp built into it, you would not have the gain control knobs.
Something else to take note of is that you can purchase standalone preamplifiers, which will give you a different sound to your recordings. So, depending on your situation and needs, you can look at getting preamplifiers to spice up your recordings.
Direct Monitoring
Most audio interfaces will come with a direct monitoring knob, which allows you to adjust the mix of the actual instrument to that of the signal that is being processed and played back by your DAW through your PC or laptop.
This knob is great if you need to hear specific things, and it can help you record with zero latency.
Phantom Power
Some audio interfaces will support phantom power built into the interface, and phantom power, as you guessed, supplies power to microphones. This feature allows you to use specifically condenser microphones when recording with your interface.
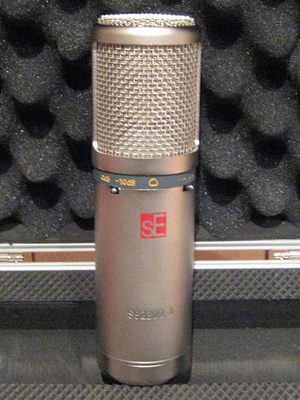
If your audio interface does not support phantom power, then you will not be able to record with condenser microphones unless you purchase and use another device that runs phantom power to your condenser microphones.
Stereo & Mono Switch
If your audio interface supports two inputs of the same type, whether it be XLR or jack, you may have a stereo/mono switch option. This means that you can either use the individual inputs as mono signals or combine the two inputs and record a stereo signal.
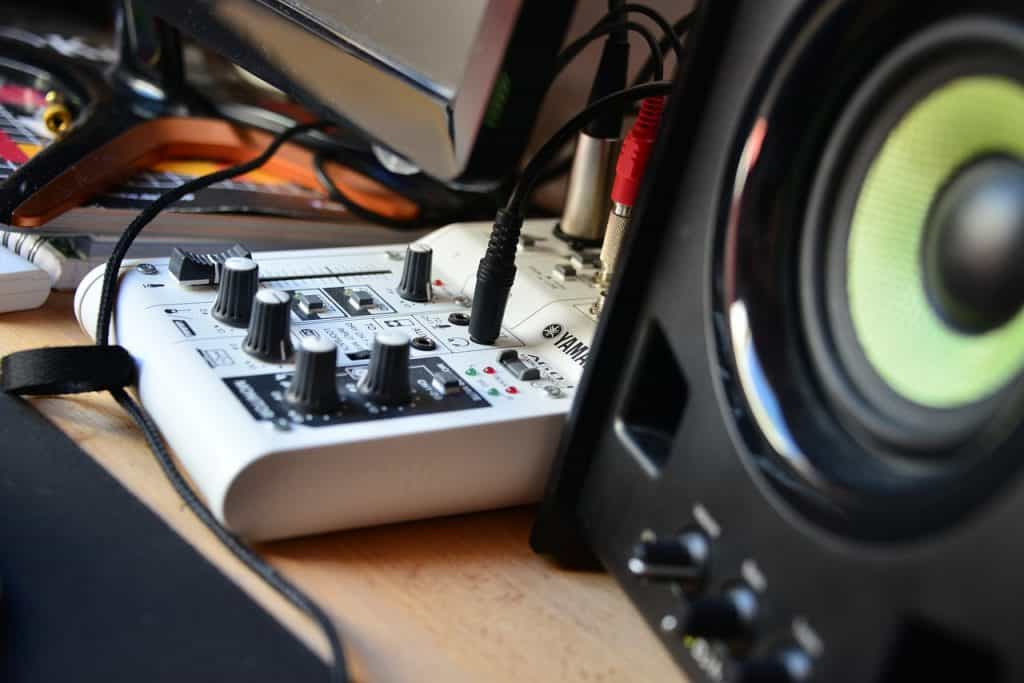
This is nice if you are using a guitar or keyboard with effects and have certain effects coming through the one input and the original signal coming through the other input giving you a beautiful stereo recording.
Volume Knob
Depending on your audio interface, you may have more than one volume knob. You may have one volume knob for your headphones and then another for your line-level outputs.
As you would guess, the volume knobs are just to control the output volume to reference your audio at the desired volume.
Headphone Output
Almost all audio interfaces will have headphone outputs as well as your line-level main outputs. This is for referencing with headphones and for recording.
You don’t want to have your monitors on when you are recording yourself, and the sound bleeds into the microphone.
Line Outputs
All audio interfaces, just like inputs, will have outputs. Besides have a headphone output, you will have the option of other line-level main outputs.
These outputs are used for your studio monitors or speakers, as with the inputs of the audio interface, you can get balanced or unbalanced outputs.
Balanced
Balanced outputs will usually be XLR, and in some cases, they will be 1/4inch jack outputs; however, the jack outputs will be TSR outputs and not just TS outputs.
Unbalanced
Unbalanced outputs can come in the form of TS jack outputs and then also, in some cases, RCA outputs. Depending on your audio interface and how much you spend on it, these outputs will be different.
Midi Inputs & Outputs
Some audio interfaces will support midi inputs and outputs. These connections will allow you to connect your controllers and electronic instruments to it so that you can record via midi. These inputs are great if you have a midi keyboard or electronic drumkit.
Connection Type
Depending on your audio interface, it will use a specific connection type to connect it to your laptop or PC. It is most likely that your interface will support a USB connection, and then in some older versions of audio interfaces, you will get a Firewire connection.
Be sure to check what your audio interface supports in terms of a connection and then check what your PC or laptop supports so you don’t purchase an audio interface that you cannot use.
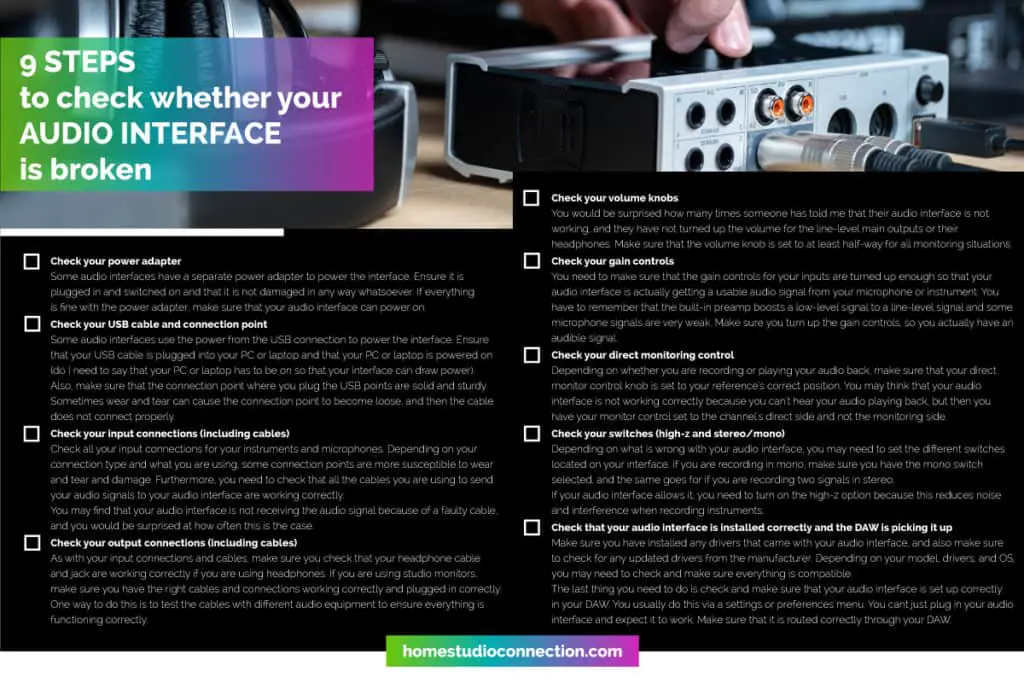
9 Steps To Check Whether Your Audio Interface Is Broken
Below, I have set out a step-by-step checklist (also available above as a PDF) to go over if your audio interface is not functioning or working correctly.
You may think that the features section of this article was not necessary. However, if you take into account all the possible features an audio interface can have and you do not know what they do, then it is entirely possible that one of the features or functions of your audio interface can cause it to not function properly or you may think it is not functioning properly.
1. Check Your Power Adapter
Some audio interfaces have a separate power adapter to power the interface. Ensure it is plugged in and switched on and that it is not damaged in any way whatsoever. If everything is fine with the power adapter, make sure that your audio interface can power on.
2. Check Your USB Cable & Connection Point
Some audio interfaces use the power from the USB connection to power the interface. Ensure that your USB cable is plugged into your PC or laptop and that your PC or laptop is powered on (do I need to say that your PC or laptop has to be on so that your interface can draw power).
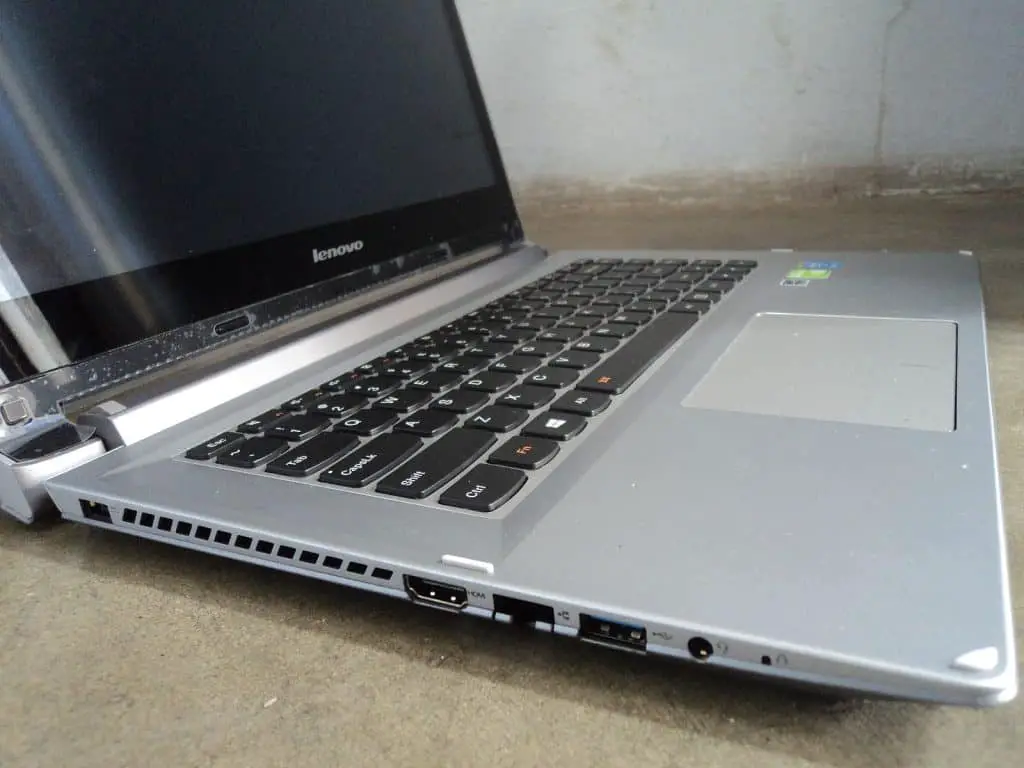
Also, make sure that the connection point where you plug the USB points are solid and sturdy. Sometimes wear and tear can cause the connection point to become loose, and then the cable does not connect properly.
3. Check Your Input Connections (Including Cables)
Check all your input connections for your instruments and microphones. Depending on your connection type and what you are using, some connection points are more susceptible to wear and tear and damage.

Furthermore, you need to check that all the cables you are using to send your audio signals to your audio interface are working correctly.
You may find that your audio interface is not receiving the audio signal because of a faulty cable, and you would be surprised at how often this is the case.
4. Check Your Output Connections (Including Cables)
As with your input connections and cables, make sure you check that your headphone cable and jack are working correctly if you are using headphones. If you are using studio monitors, make sure you have the right cables and connections working correctly and plugged in correctly.
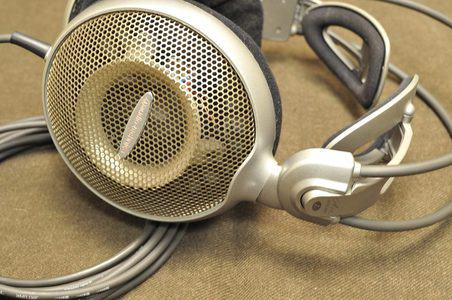
One way to do this is to test the cables with different audio equipment to ensure everything is functioning correctly.
5. Check Your Volume Knobs
You would be surprised how many times someone has told me that their audio interface is not working, and they have not turned up the volume for the line-level main outputs or their headphones. Make sure that the volume knob is set to at least half-way for all monitoring situations.
6. Check Your Gain Controls
You need to make sure that the gain controls for your inputs are turned up enough so that your audio interface is actually getting a usable audio signal from your microphone or instrument.
You have to remember that the built-in preamp boosts a low-level signal to a line-level signal and some microphone signals are very weak. Make sure you turn up the gain controls, so you actually have an audible signal.
7. Check Your Direct Monitoring Control
Depending on whether you are recording or playing your audio back, make sure that your direct monitor control knob is set to your reference’s correct position. You may think that your audio interface is not working correctly because you can’t hear your audio playing back, but then you have your monitor control set to the channel’s direct side and not the monitoring side.
8. Check Your Switches (High-z & Stereo/Mono)
Depending on what is wrong with your audio interface, you may need to set the different switches located on your interface. If you are recording in mono, make sure you have the mono switch selected, and the same goes for if you are recording two signals in stereo.
If your audio interface allows it, you need to turn on the high-z option because this reduces noise and interference when recording instruments.
9. Check That Your Audio Interface Is Installed Correctly & The DAW Is Picking It Up
Make sure you have installed any drivers that came with your audio interface, and also make sure to check for any updated drivers from the manufacturer. Depending on your model, drivers, and OS, you may need to check and make sure everything is compatible.
The last thing you need to do is check and make sure that your audio interface is set up correctly in your DAW. You usually do this via a settings or preferences menu. You cant just plug in your audio interface and expect it to work. Make sure that it is routed correctly through your DAW.
Covered The Checklist, But Your Audio Interface Is Still Not Working?
If you have gone through the step-by-step checklist and your audio interface is still not functioning properly, then the sad truth is that perhaps some components or materials have been damaged or have malfunctioned within your audio interface.
You will then need to send it back to the manufacturer or place of purchase if it is still under warranty; otherwise, you may have to purchase a new one.
Top 5 Audio Interfaces To Purchase
Focusrite Scarlett Solo MK3
This audio interface sports its 3rd-generation Scarlett mic preamp. It performs at the studio standard of 24bit/192khz and has a switchable air mode that gives your recordings a brighter and more open sound. It has super low latency and a direct monitor circuit for monitoring your input with guaranteed low latency.
It comes with a 2-year warranty and phantom power, not to mention membership to the Focusrite plug-in collective.
Native Instruments Komplete Audio 1
It has an XLR mic input and then a jack input for your bass or guitar. The outputs on this audio interface are RCA outputs instead of y our typical jack or XLR outputs. It has a VU meter for accurately adjusting levels, and the audio quality is 24bit/192khz.
It sports a big volume knob for easily adjusting output levels and direct monitoring for zero latency. It’s powered by USB 2 for maximum portability.
Presonus AudioBox USB 96
It has a dual combination of XLR and Jack inputs and is USB 2 compatible. This audio interface records at 24bit/192khz and has dual preamplifiers allowing you to either record microphones or instruments.
It is built with onboard phantom power to support studio condenser microphones. Surprisingly, it has an internal analog mixer that lets you blend direct input and playback signals for latency-free monitoring. The bonus feature for this audio interface is that it has midi inputs and outputs on the back of the device.
M-Audio M-Track 2×2
This is definitely the best quality audio interface for the price you pay. It has one dual combination XLR and jack input and then one jack input. It captures audio at 24bit/192khz, and the preamps are clean with low noise and are acoustically neutral.
It features midi inputs and outputs for your controllers and electronic instruments and zero-latency direct monitoring that provides a natural recording experience. Lastly, it has a large volume knob centered in the middle of the device that allows for easy adjustment of playback levels.
Mackie Onyx Artist 1-2
This beautiful looking audio interface has two inputs (one XLR and one jack). It captures and converts audio at 24bit/192khz combined with premium analog circuitry to deliver top-notch sound quality. It has 1 boutique-sounding Onyx preamp that provides a crisp and excellent fidelity and dynamic range.
More so, it sports phantom power and a high-z switch for DI-ing your guitar and bass. It has zero-latency monitoring and supports USB 2 for ultimate portability. Finally, it has a chic and rugged design that looks great and can withstand day-to-day abuse.
Conclusion
If you do not know exactly how an audio interface works and what functions and features it has, there is a possibility that one of those features or functions is causing your audio interface to not work correctly.
Before you rush out and buy a new audio interface, be sure to always go through the checklist provided above. Make sure that everything has been crossed off the list before you decide that your interface is broken.
Are you getting static in your audio interface after trying these fixes? You can learn how to get rid of static in your audio interface here.
You can find our recommendation for the audio interface with the best preamp here.


