Before digital systems, audio was recorded using analog mixers and tape, edited and cut together by some smart engineers. With the advent of digital recording systems, artists and engineers needed to be able to convert analog signals from musical instruments and microphones to digital files.
An audio interface is an external sound device that connects to your computer that converts analog signals to digital ones that can then be read and used by your computer. This is essential for recording audio, whether vocal or instruments, for use on your DAW and music editing software.
Now, let’s dive into the world of AI (audio interface) and get a better idea of what these amazing devices are, how they work, and how to use them so that you can get the best results in your studio or from your podcast.
How Does An Audio Interface Work
An audio interface is often called an external sound card, performing the same function as the onboard sound card. Still, these devices’ overall quality and versatility are much better than onboard sound cards.

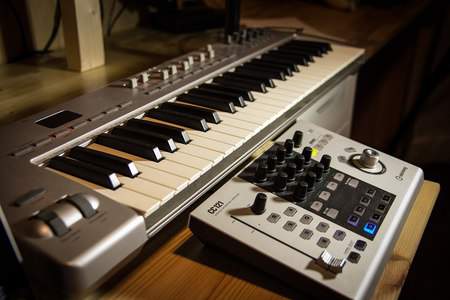
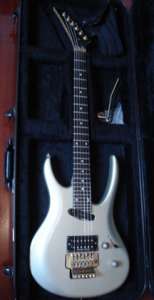
The audio interface takes analog signals from an instrument like an electric guitar, keyboard, or microphone. It converts it to a digital output signal with which the computer can recognize, work, and load into a DAW for editing.
In doing so, it improves and enhances the sound quality of the incoming and outgoing audio signals from the computer, as most onboard sound cards don’t provide the high-resolution audio you need for modern recording.
While you could ( and probably still can) get studio-quality sound cards like Asus’s XONAR, audio interfaces offer more recording channels and can run from two to 24 media or more.
Sound Card Vs. Audio Interface
An onboard sound card could do the job for small recording projects, but should you want better resolution recordings, you may need to invest in studio-quality sound cards. You also need to consider the effects of noise and latency if you aren’t using a good-quality sound card, as this will affect the recording and responsiveness.
With sound cards, you could only record one input at a time, or if you have the computer connected to a mixer, then you can only record the incoming signal from the master mix output, so you don’t have the option to split the different instruments into separate channels – unless you record them individually and this will take more time.
(You can learn about recording guitar and vocals separately here).
The more efficient you are in achieving high-resolution recordings and being able to edit them quickly and easily, the faster and more accurate your audio projects will be. Essentially, if you are doing any recording, rather get an audio interface.
Audio Interfaces Offer Multiple Individual Channels
The beauty about these audio interfaces is that unlike incoming signals from a mixer, each channel records individually, so if you have a four or five-piece band, you can record all of the performers on their channels, rather than doing it one at a time as you would do with a sound card.

Of course, getting a 24-channel audio interface wouldn’t be worth it if you only do podcasts or a two-person band. Still, for pro studios, these devices mean they can record high-resolution audio and use the editing software immediately.
The ability to record multiple channels simultaneously significantly speeds up the recording process. Often, audio interfaces have the ‘talk back’ function, where the controller can talk to the performer as they would be able to do in a standard studio setup.
So, where adjustments are needed, that can be communicated in real-time. Because the channel is individually identified and recorded on the DAW, the tracks are all labeled per the channel, so the engineer doesn’t have to sift through numerous takes to edit and produce the final rendition.
For example, if the vocalist is on channel 1, then all the audio recordings would follow the syntax 1.1,1.2., 1.3 for each subsequent take, and if you opt to label the channel (VOCAL) on the software, that makes organizing the takes much easier; plus, they can be stored in their folder for reference if need be.
How Do Audio Interfaces Connect
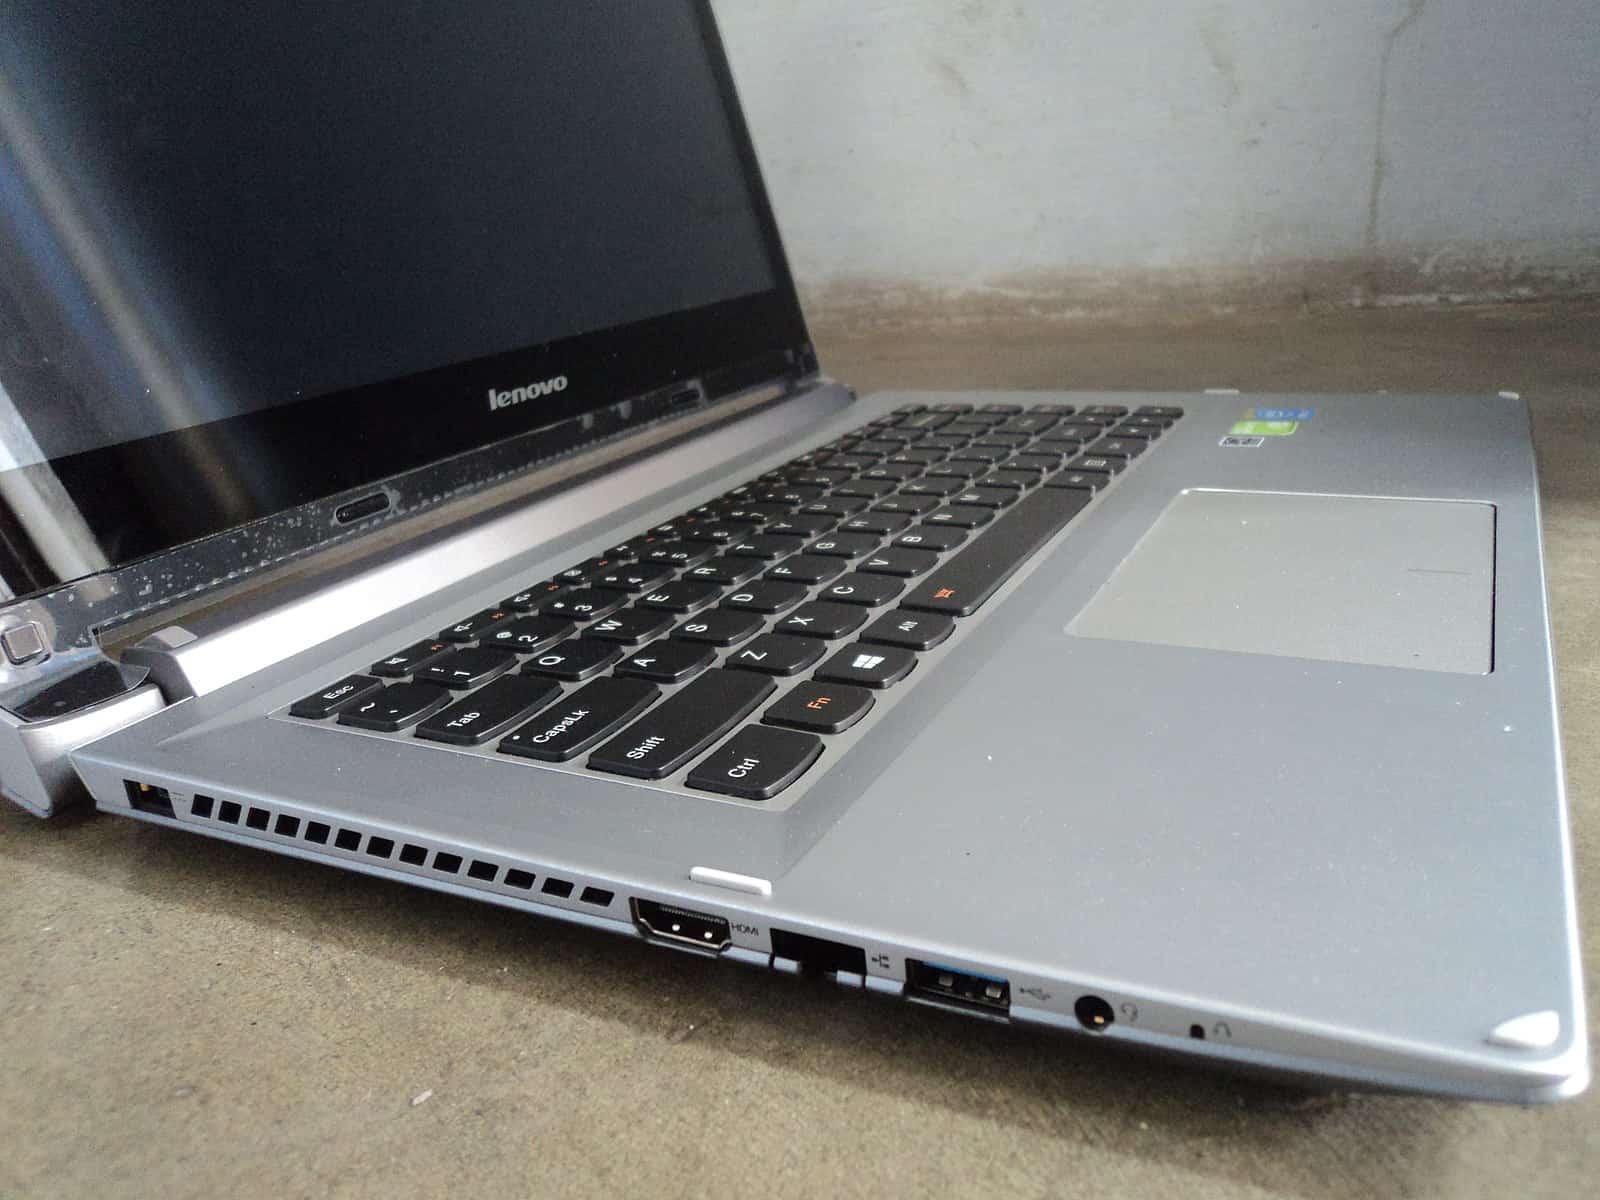
With digital, audio interfaces can connect in several ways, from onboard PCI and PCIe to Firewire, Thunderbolt, and USB. Most studios would look at a FireWire or Thunderbolt option, with MAC using Thunderbolt and PC going with the others.
(You can learn ways to use USB as an audio input here).
PCI and PCIe use motherboard slots, which could be useful for smaller recording operations, while USB 2 or USB 3 would be better for higher rates and resolutions. With these options, a speed of around 480MB/s should be achievable, and you could have up to 64 different channels recording at that speed.
What Input/Output Options Do You Need?
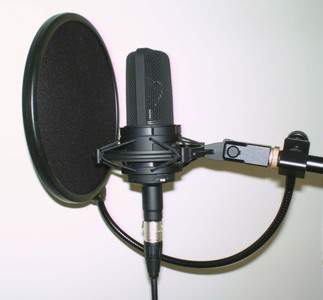
Always consider your Input/Output option or IO configuration when looking for an audio interface. For example, if you are using microphones, get an audio interface with XLR inputs, as these will perform far better than USB microphone inputs.
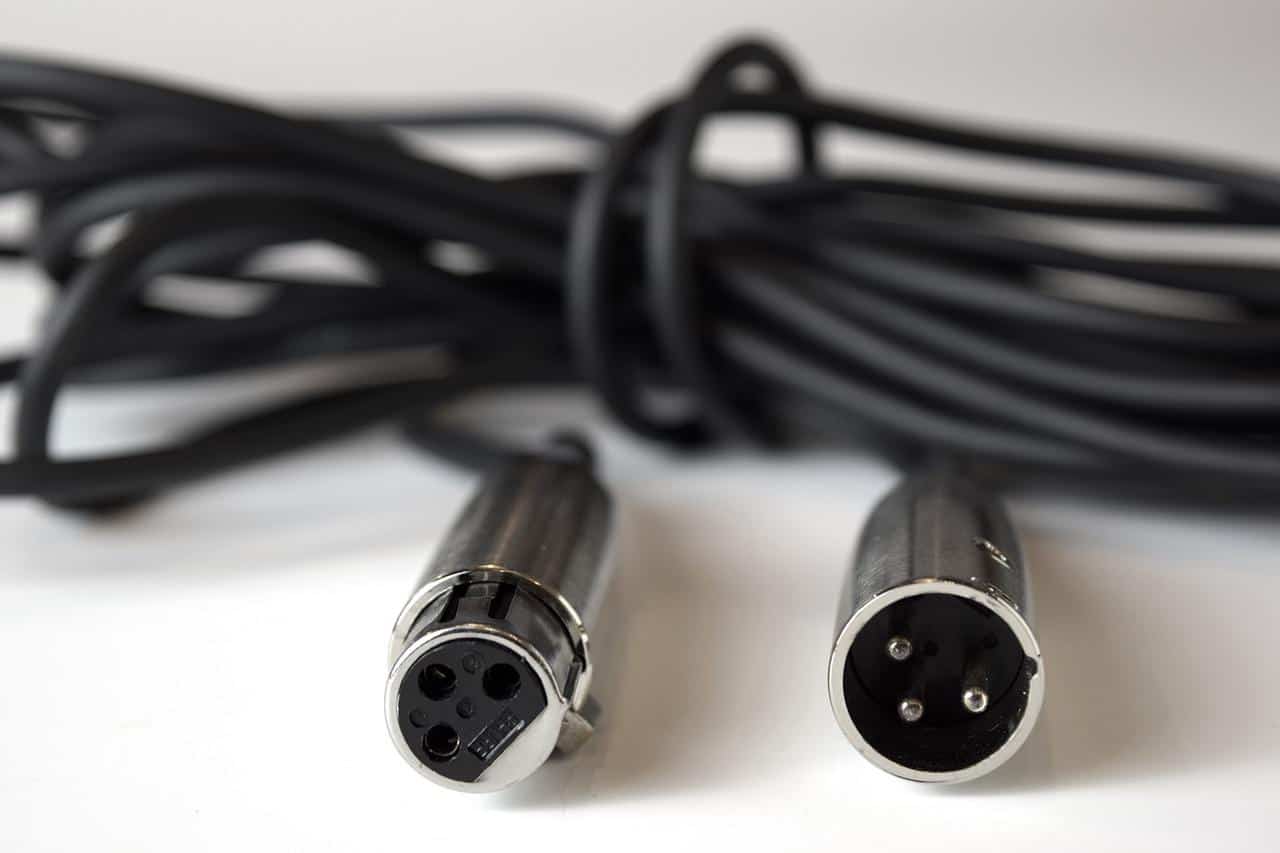
Also, if you are using XLR, you need to either check that you have phantom power on the interface or set up a phantom power supply to ensure the cardioid microphones can operate properly – phantom power does not apply to dynamic microphones.
If you use the audio interface for recording instruments, a ¼” jack for guitar inputs and either stereo jack or XLR will work for keyboards.
Another practical function of the audio interface is connecting external speakers, whether active studio monitors or an amplifier. The sound output from the interface will be far better than that from a soundcard, and they generally have volume controls for the outgoing line signal.
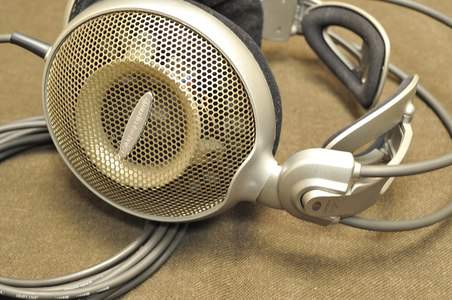
Headphones also sound better through the interface as they would have an integrated headphone amplifier, whereas using the computer headphone output would not deliver the desired sound quality. Some interfaces provide engineer headphone outputs and artist headphone outputs.
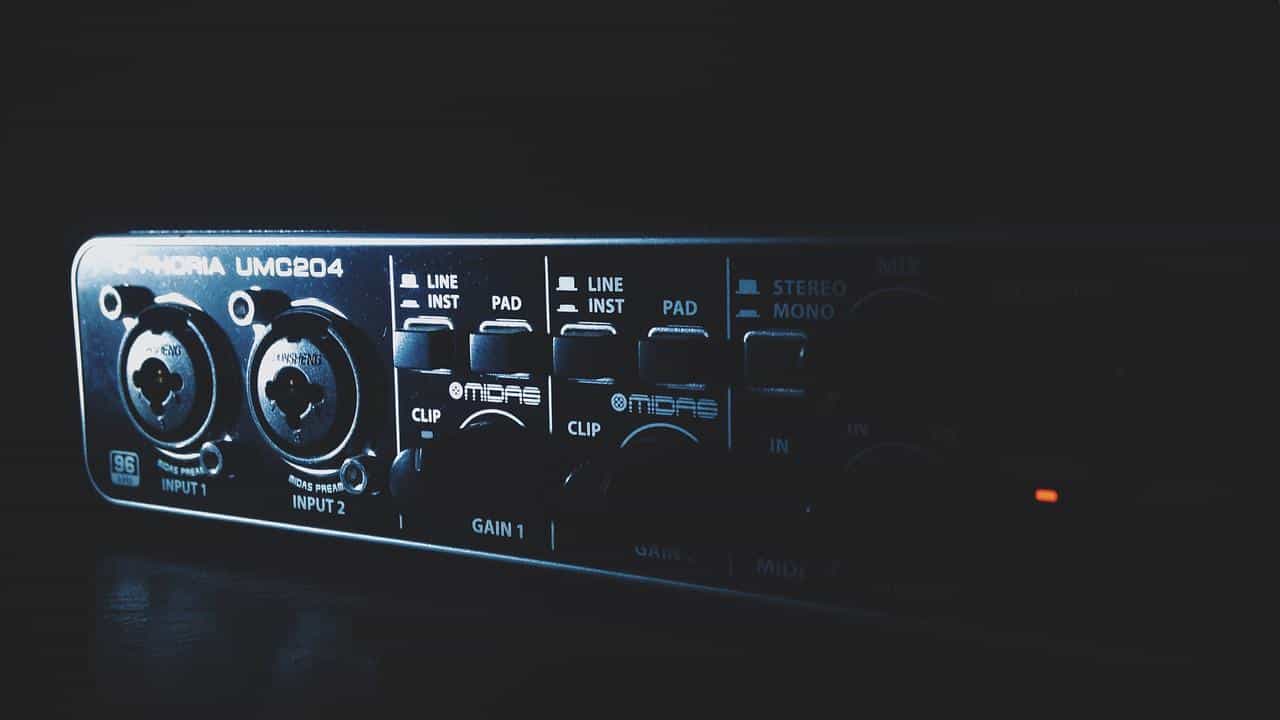
Audio Interfaces Offer Microphone Preamps
Yes, you need a mic preamp if you are recording vocals, so using an audio interface provides that and usually on all the mic inputs. The preamp boosts the signal from the mic to line levels and may also assist with reducing the noise.
(You can find out which audio interface has the best preamp here).
When comparing signals with and without an audio interface, you can hear the difference in transparency, with the audio interface being quieter and clearer and again, if you are recording vocals, rather use an XLR input and phantom power where needed.
Audio Interface – Sampling Rates And Bit Rates
While these two terms may be a little confusing, there are all about the quality and resolution of your audio recordings. Think of the sample rate a little like the pixel rating on a camera. The higher the pixel rating, the better resolution the images will be.
With audio interface recording, most will offer options on sample rate from 44.1kHz 16-bit to 192kHz 24-bit. For any audio files, whether .wav or mp3, the 44.1kHz sample rate is the minimum required.
At 44,1kHz, this is effectively a sample rate of 44100′ snapshots’ per second, and this is the industry standard in terms of release as most platforms like Spotify utilize this sample rate. For professional high-resolution recordings, you could use 96Khz and 24 -bit, but remember that if this is released for download, it will usually end up as a 44.1kHz file.
You need to know what kind of recording quality you want before you look at buying an audio interface so that you can opt for one that offers you the required resolution and the options for the different sample and bit rates -if you need them.
For most audio projects, whether podcasts, vocal or instrumental, 44.1kHz will be more than suitable. But, for professional and studio-type setups,it would be a better choice if you only considered the upper sample and bit-rate options
Audio Interfaces & Latency
Latency is a term that essentially describes the delay between the instrument sounding in real-time and sound or recording of the sound through the interface. Another reason is that onboard sound cards are not as effective as audio interfaces.
Because they are not designed to handle pro-audio, they often suffer latency issues resulting in a very frustrated performer or controller who buys an audio interface!
Latency happens as signals are converted from analog to digital and back and can be caused by buffer settings on your computer, the time it takes for software to communicate with other software or hardware, and the DAW processing time.
Where the latency is high, you can experience real-time delays in sound response when recording, and if you are monitoring the sound through external monitors or headphones, there will be a noticeable gap between the sound sources.
However, very low latency such as 3ms as this would be the same as playing your guitar and being about 6ft from the amp – but 10ms delay or longer will certainly be noticeable, and it can make life difficult to achieve synchronicity in recordings.
This is a problem when doing live recordings as it becomes challenging to maintain time with the track when recording vocals or instruments. The key to resolving this is to use a powerful computer with high specs on the RAM and processing unit, as this will mean that incoming signals will have little or no delay before you hear them.
Most modern audio interfaces have a direct monitoring feature that allows you to hear your vocals or instruments in real-time with no latency. This is achieved by sending the incoming signal directly to the headphones or monitor and bypassing the computer completely.
If you don’t want to pull your hair out while recording, getting an audio interface with the direct monitoring feature is non-negotiable, so check the specs of your potential audio interfaces before you buy one and ensure the one you choose has it.
How To Use Your Audio Interface
The best thing about modern digital technology is that most of it is ‘plug-n-play,’ so connecting your audio interface to your computer will elicit the setup routine and software installation, which takes a few minutes.
First, you need to power up the audio interface using the supplied power adapter and then connect that to your computer via USB, FireWire, or Thunderbolt, depending on your available availability.
Then you can connect your external speakers, whether monitors or conventional speakers requiring a stereo amplifier. Once all this legwork is done, you can fire up the computer and go through the setup process.
Most of the settings will be done by default, and you will be ready to start your recordings a few minutes after installation. Connect your headphones or external monitors or speakers, plug in your microphones or instruments, and go off!
You may need to adjust some peripheral settings on the audio interface like the line input volume, microphone levels, and your bit and sample rates. If you get DAW software with it, you may need to set the input defaults or adjust them on your existing editing software.
This may take the form of changing the primary or default input source so that the DAW will read the new audio interface, but this can be done in the settings on the DAW itself by using the settings menu on the software.
Once this is done, it’s time to get going and start playing around with the audio interface and your gear! This is the fun part, and if you didn’t have one before, you’d wonder why it took you so long to get one, as these devices truly make an audio recording much more efficient and reliable.
Conclusion
With the proliferation of channels and platforms to produce and play music to audiences around the world growing by the day, you need the very best renditions of your music as possible and because there are a wide variety of options when it comes to price and features of audio interfaces, you will find one that works for you.
Adding an external audio interface to your recording setup, whether amateur or professional, will make your life a heck of a lot easier. With most things audio, buy the best product you can afford as it will deliver consistent performance for years to come.
You can learn more about when you need an audio interface here.
You can find out which audio interfaces the pros use here.
You can learn about the difference between an audio interface and a mixer here.
Resources