Dealing with unwanted noise and static audio recordings can be time-consuming and frustrating. Getting rid of it can be a royal pain in the microphone for amateur and professional sound engineers alike.
You can get rid of static in audio recordings in two ways: pre-recording and post-recording. Each option requires a different approach to this problem, but combined; they will work to remove unwanted noise and static in your audio file and give you a clean-finished recording.
Preventing or reducing static noise is always better than editing it out post-recording. Still, some excellent sound editing software products have features that deal specifically with this issue – so let’s get in the studio and find out more.
What Is Static In Audio Recordings?
Essentially you get four types of noise: hiss, rumble, crackle, and hum, and static is the white noise you hear if you turn on your TV when there is no solid signal coming through. The incredible thing about static is that some of it comes from microwave radiation from the Big Bang!
So the next time you tune your radio or TV and get static, you are listening to the echoes of a cosmic event that took place almost 14 billion years ago! While that’s all very romantic, when you have static crop up in your audio recordings, it’s unlikely that this will be of any comfort.
Generally, static is the term used to describe any noise in an audio recording. While there are specific terms for the types of noise and the filters used to remove them, static refers to unwanted sounds on an audio track.
Ambient noise, ground loops, the room tone, reflective noise, faulty cables, air conditioners, and the equipment setup itself can all cause static and noise in audio recordings, so it’s imperative that you set yourself up for as clean a recording as possible, so you don’t need hours of noise editing afterward.
We also need to remember that the term ‘audio recording’ in this discussion refers to voice recordings, whether podcast, narration, voice-overs, or vocals, so this does not refer to music or sound effects, but the principles would be similar.
As mentioned prior, there are two stages in the recording process where you can prevent or reduce static: before recording and posting using audio editing software. So let’s explore how to ‘static-proof’ your recording setup and then look at the post-editing options.
Setting Up Your Recording To Prevent Static In Audio Recordings
In days before the advent of modern recording software, only sound engineers could remove static in audio recordings, and if you weren’t one, didn’t have the equipment, or didn’t know one, well, your audio was doomed to re-record, or you had to live with it.
Sound engineers understand the need to have the cleanest possible recording environment to deliver the clearest audio possible. To this end, there are some basics that you can follow, whether you have a studio or not, to prevent noise before you record.
Record The Room Noise First
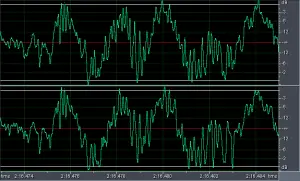
Set up your microphone and let it record the noise in the room for about 20-30 seconds. You are doing this to gauge the ambient noise levels and to see what static is present without any vocal being done.
You may discover a myriad of noise you never knew existed as your ear isn’t nearly as sensitive as a good-quality mic, and you will then determine what steps you can take to reduce the ambient room noise before you record.
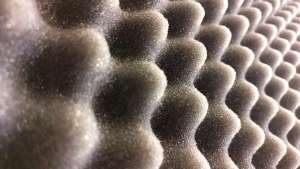
This could mean adding soundproofing to windows and walls or even building a soundproof box for the studio computer as you can hear it humming when the mic is open.
Find The Time With The Lowest Noise To Record
If you are using your room or similar homemade studio, you may find that certain times of the day are better to record than others.
Traffic and other people in the vicinity, above, or next to you can also cause unwanted noise.

Record In The Quietest Environment Possible
Believe it or not, recording in a closet surrounded by clothes will have a great dampening effect on reflective and ambient noise, so even if you don’t have a professionally soundproofed space, you can still get great quality audio using a little creative thinking.
Carpeted rooms with curtains, pillows, and other soft materials will reflect less noise than walls, tiled floors, and windows, so look at the rooms you have and see which one would offer the quietest least reflective environment.

Close windows, move electronics away from the microphone, and unplug or switch off any appliances or devices you don’t need when recording. These can cause electrical interference – even lights can add buzz through a mic, so hunt them down using your headphones and get the cleanest space you can.
Test The PFL Levels To Ensure The Gain Is Set Properly
Noise and static can often be caused by the gain levels on the mic channel being too high. Gain is essentially the measure of the microphone’s sensitivity, so when setting up your vocal levels, get your voice performer closer to the mic and turn the gain down.
Many people often make the mistake of turning the gain too high and having the voice too far away. While this sounds great on headphones, any ambient noise or pops from pronunciations will be greatly amplified on the audio recording.
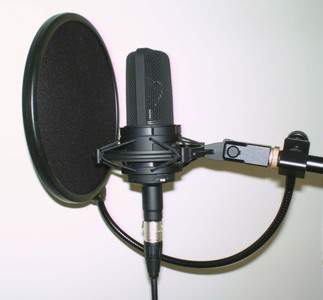
The Pre-Fader Level check on the mixer will tell you what the incoming level is, and if it’s above 0 dB, then you need to adjust the gain until it’s just on or below this level. Recording audio with a gain too high will not be editable, so get it set before you record, and wherever possible, use a pop-shield.
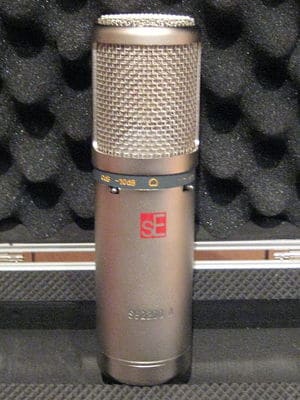
Use A Good Microphone
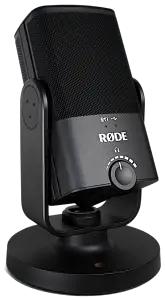
This option will save you a lot of heartache and frustration, so invest in a decent dynamic microphone, preferably a cardioid one. Cardioid mics only pick up the noise directly in front of it, and this, along with a foam shield around it, can prevent and reduce a lot of the static and noise in an audio recording.
(You can learn more about the differences between dynamic and condenser microphones here).
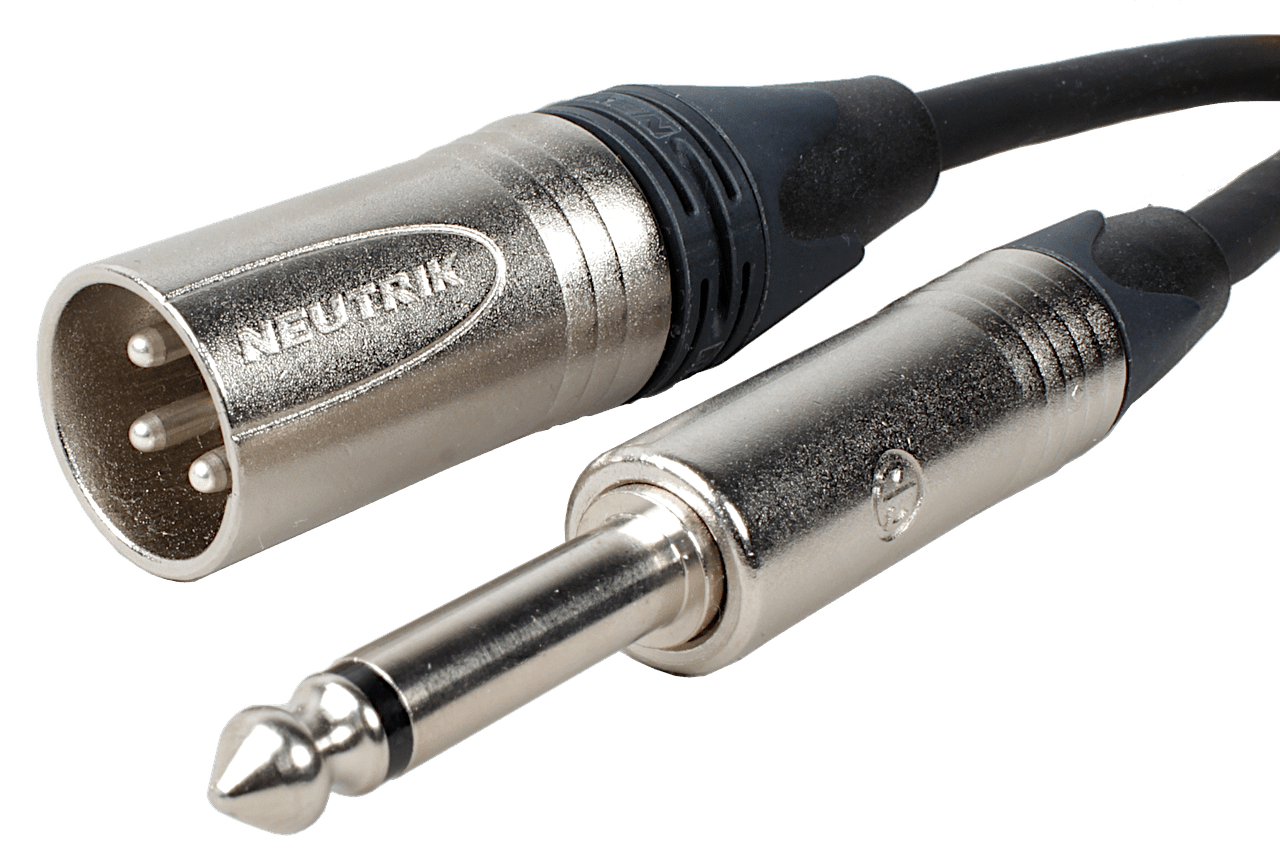
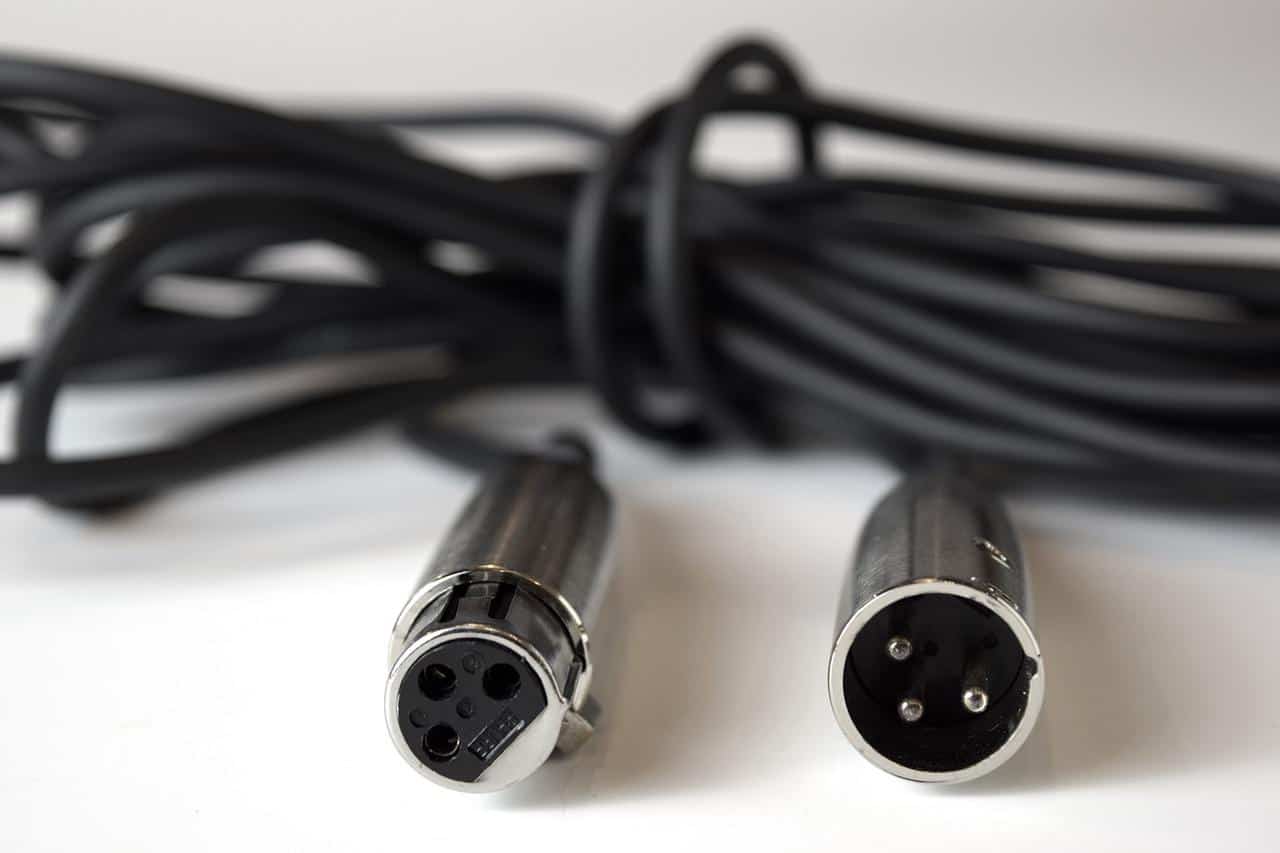
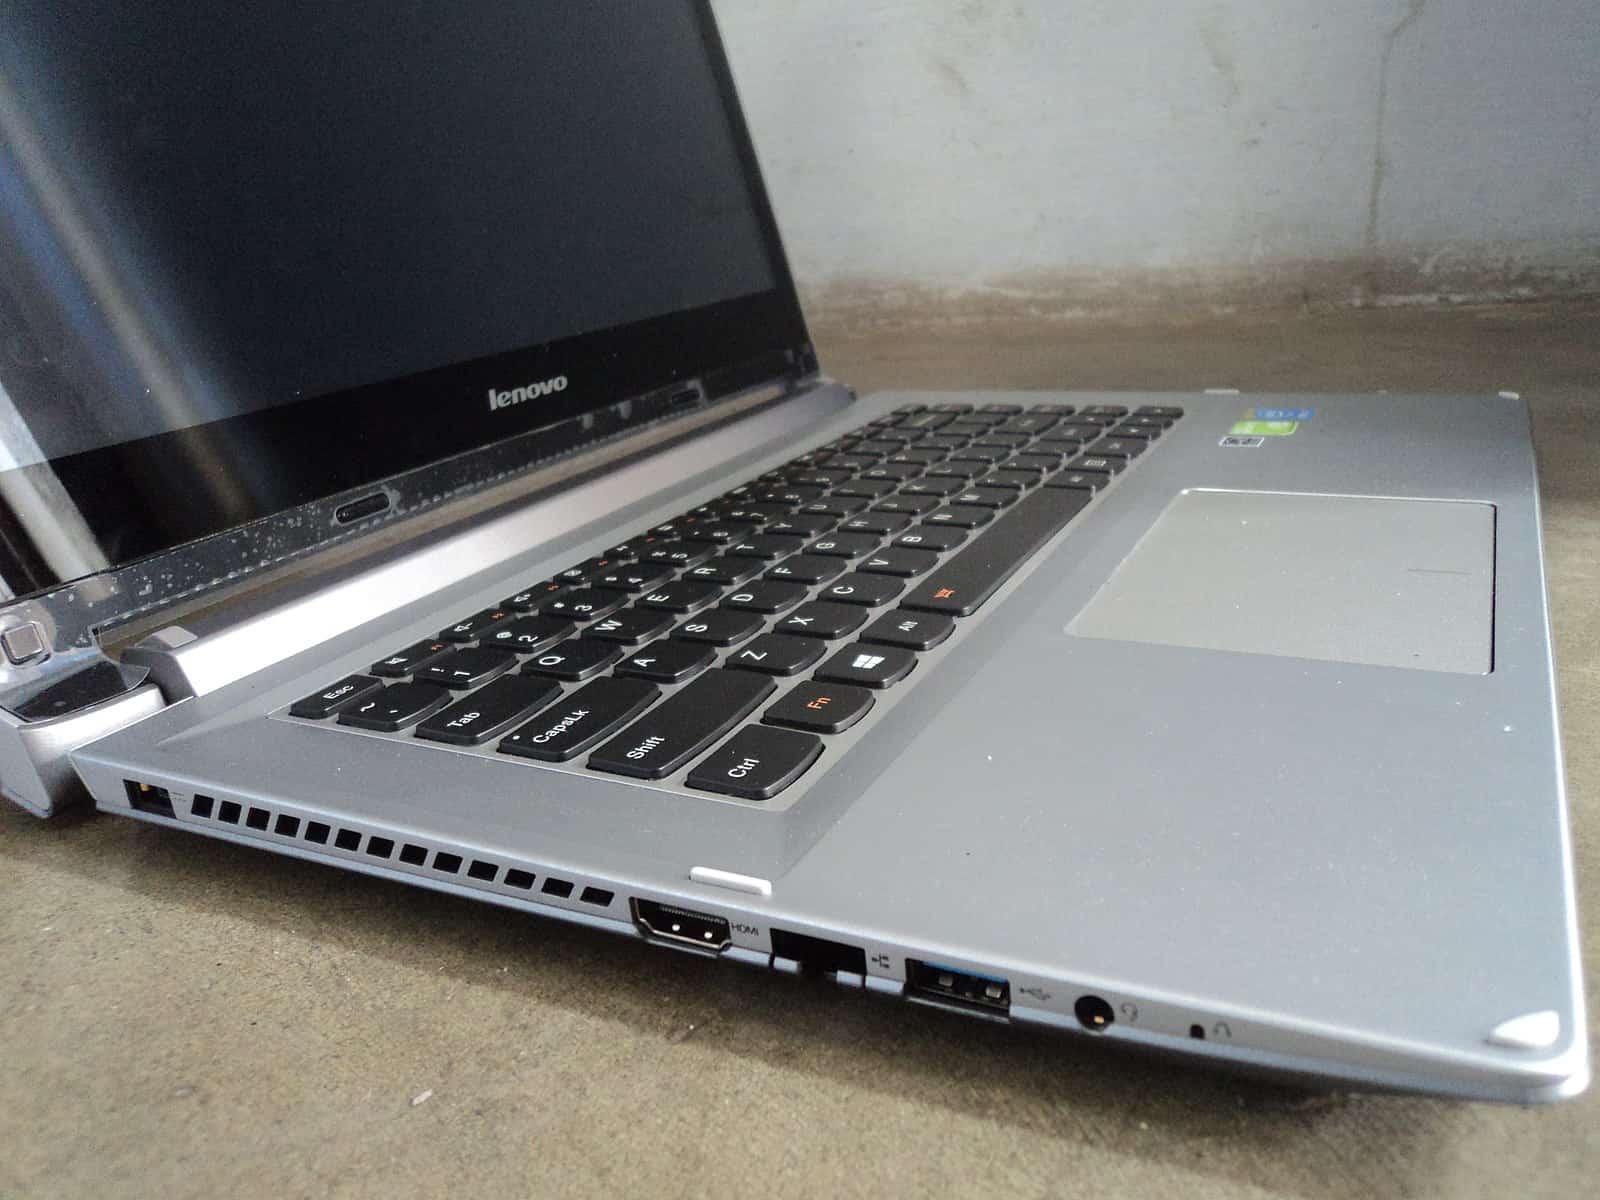
If you want to do this right the first time, opt for an XLR microphone rather than a USB one and use an external audio interface to connect to your DAW. There are some excellent AI’s out there, and the good ones come with their own software making your life that much easier.
USB connections can sometimes be a little unstable, and this can contribute unwanted static to the audio recording, but if you are prepared to invest some cash in a good quality USB microphone, then this would probably not be a factor
Always ensure that your cables are securely and properly plugged in regardless of what mic you use. This applies to any attached device, whether the microphone itself, headphones or speakers, as static can be caused by a poor connection.
Aim Your Microphone Away From Noise
Solid surfaces like walls and windows reflect noise, even from the voice source, so you need to aim the microphone away from those areas to reduce the risk of that static being picked up during the recording.
Cardioid microphones have a ‘null’ or the least sensitive spot in their recording field, so positioning any noise sources in the ‘null’ will reduce the likelihood of static in the recording. Most cardioid mics have a null at 180 degrees off-axis, while super cardioid microphones have nulls at 127 and 223 degrees.
Use A Low-Cut/High-Pass Filter To Kill Static
Remember that the human voice is between 300Hz and 3000hz for 90% of the speech range, so using a high-pass filter set at 100hz either the microphone or stage one amplification will kill much of the low-end static.
You could even opt for as using a filter set around 320Hz if you need to be more aggressive with the noise, but the 100Hz high-pass option will deliver good results on audio recordings. Many microphones have a high-pass filter option, so activate that first, test the audio and then apply a secondary filter if needed.

Now that we have covered the pre-recording prevention of static in recordings let’s look at the post-recording options.
Get Rid Of Static In Audio Recordings Using Software
While you may have taken every precaution to reduce the risk of static during recording, reviewing the audio file post-recording may reveal some low-level static and noise in the file. This will have to be edited out.
Most DAWs have reasonable options and features to remove and filter out this static. You can almost always remove static from audio recordings by utilizing filter settings at various noise levels and frequencies.
Some available software is free, like Adobe Audition 3, CakeWalk, and Cubase. At the same time, other programs like Audacity, Sonus, Faber, and paid versions of Cubase and Adobe Audition all to include noise editing features.
If you want to go pro, Pro Tools is the go-to option, but not everyone can afford the $600 price tag; if you are doing a lot of recording, it may be a good option to invest in.
Use The DAW To Get Rid Of Static In Audio Recordings
While each DAWs has different options, the basics of editing out the static in audio recordings are the same, so let’s go through the basic steps to accomplish this.
Assuming you have made an effort to reduce the risk of noise in your recording environment and only have light noise and static to deal with, you will use the following process to edit the noise.
Remember that in some cases, the editing software will distort or change the sound of the voice or recording depending on how much noise reduction you apply, so this will be a step-by-step process until you reach the desired result.
Create A Noise Profile
Select the Noise Reduction feature on the DAW menu tab and then choose the whole audio file. If you want to experiment with filtering, select a small section to make the initial process simpler and faster.
Instead of working with the whole file, copy a 10-second segment of it to a new file and create a new noise profile of that clip – then use the noise reduction filters until you remove all the static.
This tip will save you a lot of time as you can edit and undo applied filters quickly instead of waiting for the whole file to render once the filter has been used.
Experiment With The Filters
Now it’s time to play with the various filters. Whether you opt for straight noise reduction, playing with the frequency settings on the graphic equalizers, or using the ‘Remove Clicks/Pops/ Hiss/Hum’ options, you will need to take some time to find the right filter to remove the specific frequency of static you have on your recording.
When using a DAW, and for most instances, the automatic options to remove static will be effective. Unless you are pedantic or need a super-clean audio file, the level of noise filtration will be more than adequate with the default options.
You may need to apply a filter, save the file, create a new noise profile of the edited audio, and continue to apply filters in stages until you get the cleanest possible result. Yes, this takes time and can be frustrating, so it’s better to create the best recording environment possible beforehand.
But, this time spent learning about your DAW’s noise editing can often lead to some interesting and weird effects and results for future recordings. You will learn about using the different noise reduction features, adding to your experience and knowledge for future projects.
Conclusion
As with most things in this life, prevention is always better than cure, and audio recordings are no different. Setting up your recording space properly, using a good microphone and an external audio interface will reduce the static and noise in your audio recordings. You have the DAW as a backup if you need it.
Nowadays, there is a vast pool of knowledge from sound engineers of all levels from all over the world, and you can use this to fast-track your editing skills by learning from others; plus, editing software is always improving, and maybe one day soon, your DAW will be able to produce flawless static-free audio without you!
Resources